I’ll admit that when Facebook Lead Ads were released, I was a skeptic. Like seriously, who was just gonna give away their email to an ad unit?
Then I ran them, and quickly saw the answer: a lot of folks.
For low commitment, low barrier-to-entry situations, they can work sooooo well when compared to driving traffic to a site.

While in concept they seem simple, there are a few things to know about both setting up and then scaling lead ad campaign types.
Before Setting Up Lead Ads
Facebook’s Lead Ads require a few things that normal ads don’t. Because it starts straying into email territory, it’s not as straightforward as a regular ad type that you’d run in Facebook. Here are things to know and do up front before you can run them:
Have a link to your privacy policy ready to go
This gets into the “email territory” issue. To cover their butts, Facebook wants to make sure you are disclosing your privacy policy that exists on your site. You will need to provide this link to run ads. Also, you can choose to include any other legal disclaimers that are inherent in your industry for extra butt-coverage, or for things like sweepstakes/giveaways, etc.
Make sure you have the right Page access
If you’re an advertiser/analyst, you should be able to set up lead ads and view insights, but you will not be able to download the leads generated. This may or may not be an issue, depending on whether that’s part of the service you’re providing to a client.
Know what fields you need to capture
For simplistic things like newsletter sign ups, email might be it. For more complex offerings, you/your client might want first name, or phone number or other things like that. As with most lead gen, the less info you require, the more signups you’re likely to get, so try and stick to just the necessary things.
Accept the Facebook Lead Ad Terms for your Page
There are Terms and Conditions you have to accept on behalf of the Page running the ads. If you haven’t done it yet, it will prompt you when you set up the ads, or you can do it ahead of time here. (It will have a drop down of all pages that fall into your Business Manager so you can pick the right one.)
Setting Up Facebook Lead Ads
Step 1: Create the Campaign
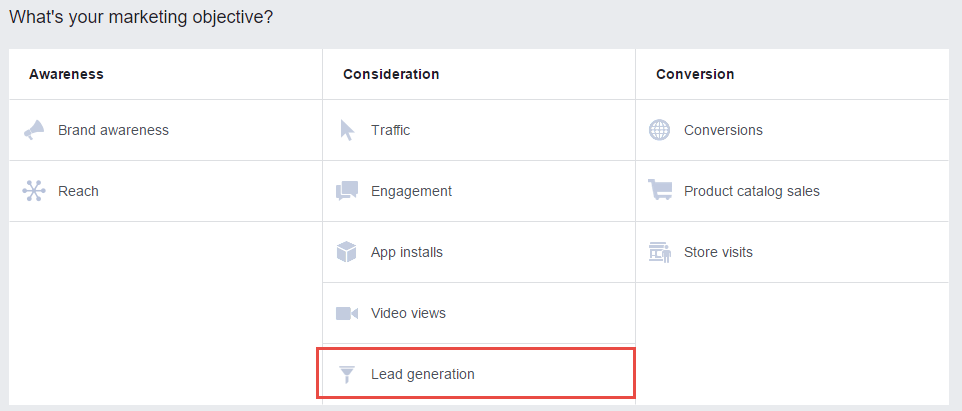
Like any campaign, there is a specific campaign type for Lead Ads which is the “Lead Generation” campaign type, so you’ll start with that:

Step 2: Ad Set Creation
Ad set creation will be what you’re used to. This is where it will prompt you to accept the terms of service for Lead Ads if you haven’t yet done so. If you have, it will say so:

The default optimization for ad delivery will be Leads. You can change this to link clicks, but I never have.
Step 3: Creative
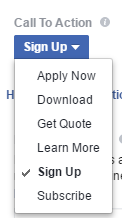
When you get to the creative, things will look a little different. A nice perk for lead ads is that you can still run the normal types you would – that part is the same. So if you want to run a carousel, video, slideshows, etc, you can. (You cannot run Canvas ads, however.) You do have different button options for your CTA:

Step 4: The Form
The last section is where you pick the form you want to use in the ad. You will also have the option to create one. The form is made up of four parts:
Welcome screen: The panel that gives you one more shot at selling someone to sign up. You can choose to have the text render as a paragraph, or as bullet points.
This is an extremely important part of the ad – it’s basically functioning as lading page, so I HIGHLY recommend you test more than one version, because it can make a huge difference. Here’s a snapshot of two different forms and their results, running on ads that were otherwise the same:

Questions: This is where you capture email, and any other information you want, including any custom fields or questions.
Privacy Policy: Self explanatory. This is where your Privacy Policy link is needed, along with any custom disclaimer text you’d like to add.
Thank You Screen: This is a generic “thank you” screen, but you can also drop a link to your website in there if you want to try and funnel people to it as well. You may want to do this if you have a specialized landing page to create a custom audience later, though it’s not necessary. (I’ll cover creating custom audiences from Lead Ads in Part Two.)
After that, you can go live and start collecting those emails!
Exporting Leads
There are a couple ways you can export the leads that you get. Something to know is that Facebook will only store your leads for 90 days, so I’d recommend getting into a regular habit of exporting if you have to do manually.
Option #1: Automatic CRM integration
Facebook has some integrations with CRMs that will automatically write them to your user database, and/or there are third party lead integration systems, such as Zapier.
Option #2: Download them from your Page
- On your page, go to “Publishing Tools,” in the menu at the top
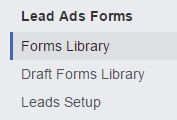
- In the left nav, go to “Forms Library”

- You will see a list of your forms, with a column showing the count, and a “download” link. They will download into a handy .csv file for you.
OK, you are now armed with a lead ad campaign! But that’s just where the fun begins. In Part Two, I will cover how to effectively run, optimize, and capitalize off your lead ad efforts.
